In principle, it's easy to measure the inductance of a coil. Use it, along with a capacitor of known value, to determine the resonant frequency of an oscillator circuit; then feed the oscillations to a frequency counter. Knowing the frequency and the capacitance, you can calculate the inductance using the formula from Physics 101:
![]() where f is in Hertz, C is in Farads and L is in Henries.
where f is in Hertz, C is in Farads and L is in Henries.
The bad news is, your capacitance is never really known; component tolerances and stray capacitance from nearby wires muddy the picture. The good news is, you don't always need high accuracy; fair-to-good will often suffice. The other good news is that a low-cost microcontroller, such as the Arduino Uno, can measure frequencies via its built-in counters and timers. You can use software to compensate for systemic errors and to format the results in pleasing ways.
Best of all, there's no need to invent this wheel; it's all published on the Net. I stole the oscillator circuit from Lukas Fässler's inductance meter. I downloaded Martin Nawrath's frequency-counter library for the Arduino chip. Sparkfun's Arduino Pro Mini has the important Arduino features and costs less than $10. Starting with these, I tinkered until I was satisfied.
Here's the circuit I ended up with. This was my first experience with the Eagle layout program, hence some of the clunky line crossings. The connectors on the right edge go to the little Arduino chip. The Arduino pin assignments are described in the LFmeter program, called a "sketch" in the Arduino world.
Some things that may not be obvious in this circuit:
I packaged everything up in a tin gift box that I found on sale for $6 at Staples. I'd have preferred to spend less, but the tin contained a half pound of tasty mint-flavored fudge, which offset some of the pain. The artwork on the box was tasteless, but spray paint fixed that.
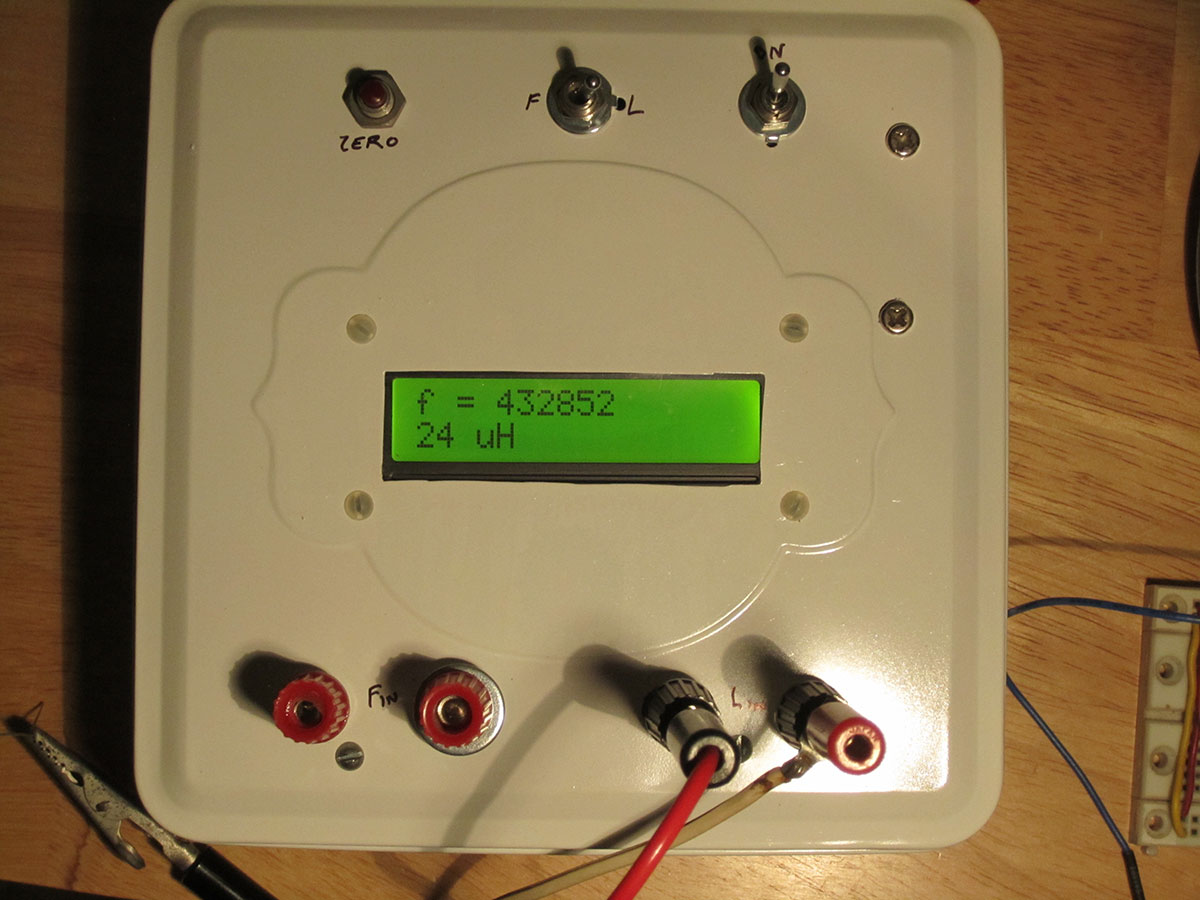
Click an image to view its enlargement
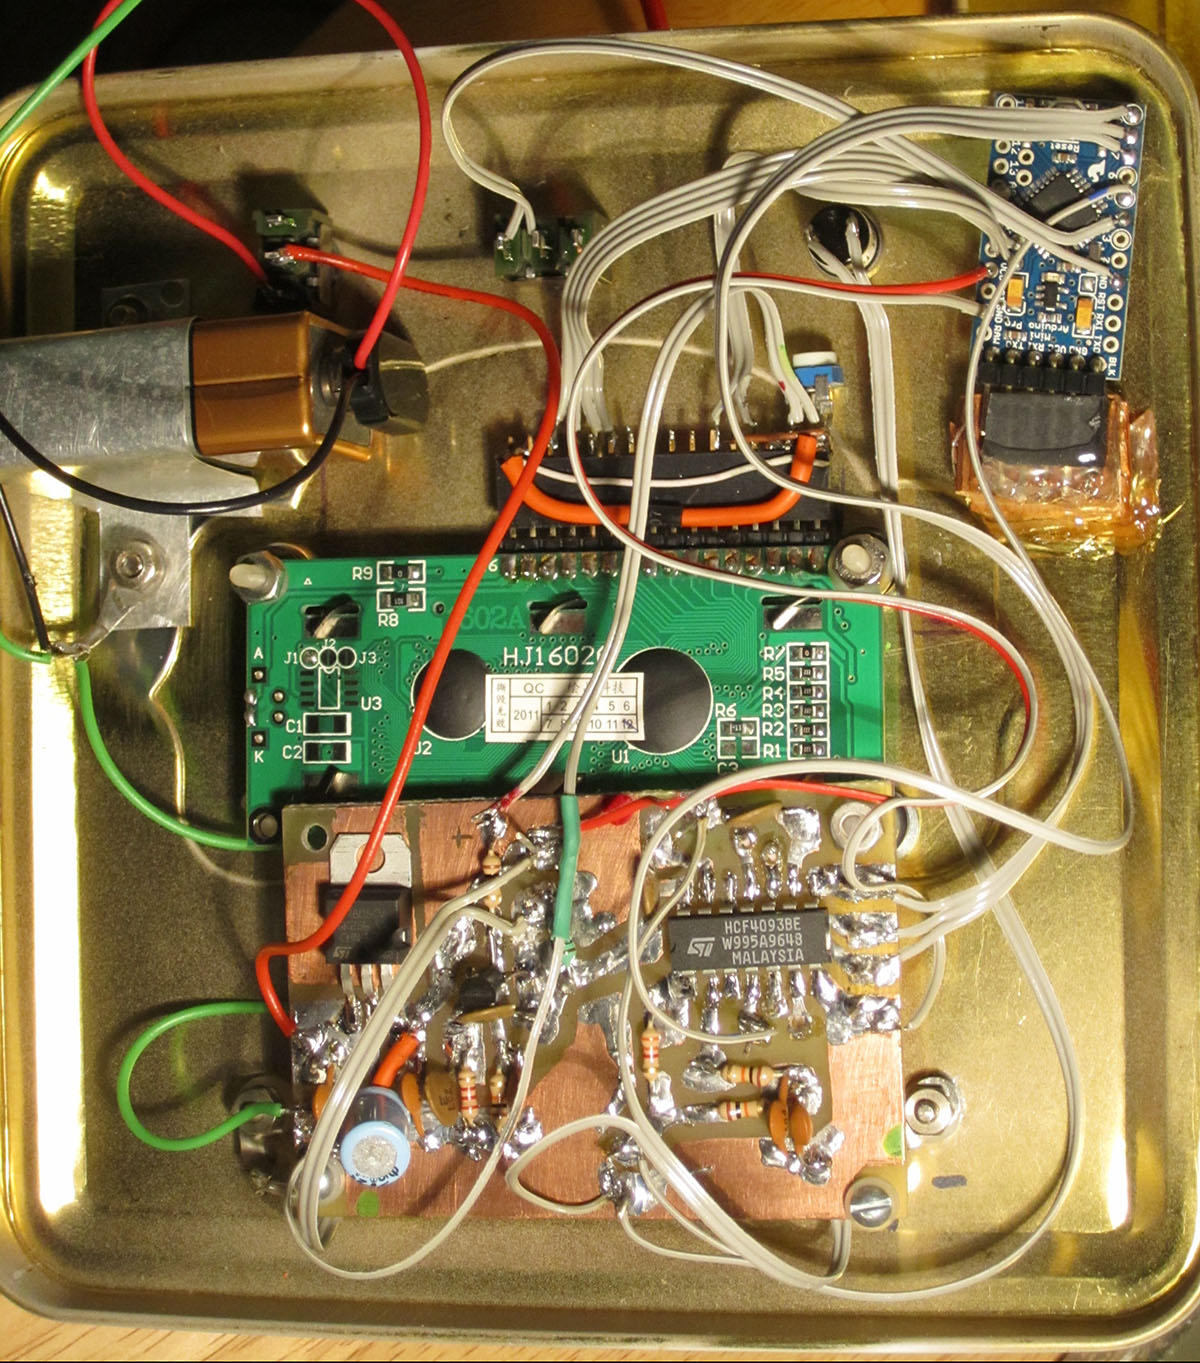
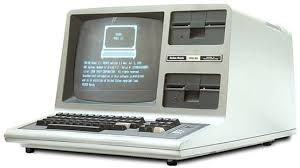
The Arduino microcontroller is the little blue thing in the top-right corner. Despite it's small size, it has more computing power than my first store-boughten computer, a TRS-80.
 To see how accurate the meter was, I measured a bunch of store-bought coils. For the small coils, under 500 µH, the meter more-or-less agreed with the labeled inductances. The discrepancy was roughly 10%, more than the 5% tolerance of the inductor but still in the ball park. But the descrepancy grew greater as the inductors got larger. At 5 mH, it was off by 40%. The bigger coils were even worse. But why?
Some hypotheses came to mind:
To test hypothesis #1, I lashed together a crystal oscillator, using some precision radio-frequency crystals left over from my ham-radio days. (Those days were in 1968. I never threw out the crystals, because they were sure to come in handy some day. And lo! That day arrived.) Turns out that the frequency counter was spot-on: less than a tenth of a percent error.
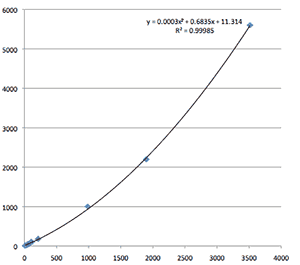
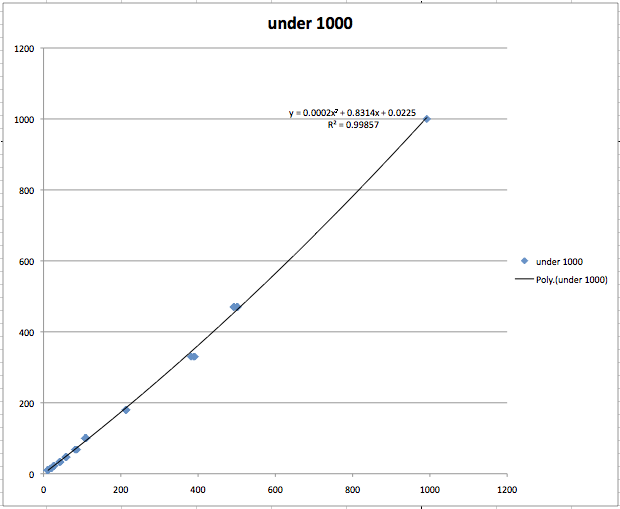
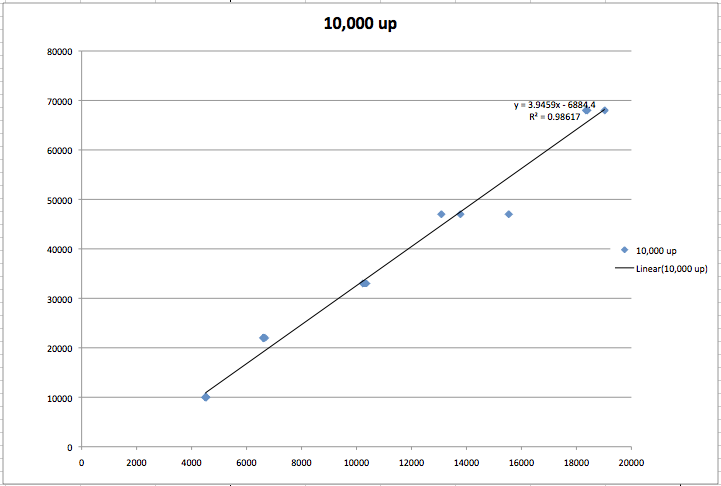
I decided not to try to untangle the other possible causes. Instead, the Arduino would just apply a correction formula in software. After all, computing is what computers are good for. I fed all the measured values into a spreadsheet, turned them into graphs and used the spreadsheet's curve-fitting tool to find a suitable formula.
Dividing the data into three regions, each with its own formula, proved to be the best compromise between simplicity and a close fit.

Adding these fudge factors to the code, I got decent agreement between my meter readings and the store-boughten coils. This meets my standard for "fair to good accuracy," which is all I need for the upcoming projects I have in mind.