An Outdoor Lightbox, Second Version
The first lightbox was a partial success, and I'll be doing more work with it over the coming months. Among its virtues, it started me working on a second version, which I will now describe.
This one is built around a computer-controlled LED strip-light. It's a 1-meter-long tape that holds 60 separate small light sources. Each little source contains a red, green and blue light-emitting diode; and the intensity of each LED can be set independently. What that means is:
- Spacing the 60 lights uniformly behind the stained glass panel should give smooth illumination with no hot spots.
- The controller can specify the color and brightness of each light, so certain areas can get a color boost.
- By hooking a photocell to one of the controller's analog inputs, I can make overall brightness depend on how dark the night is.
- By constantly changing the colors, the controller can provide a more animated display.
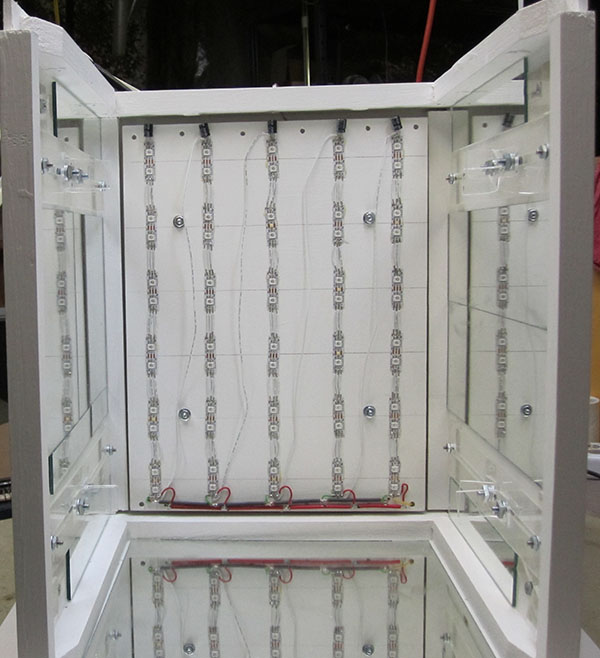
 The glass panel that the lightbox illuminates is 12" wide by 16" high, while the LEDs are spaced about ¾ inch apart on the tape. I chose to cut the tape apart to make 30 pairs, spaced about two inches apart, making 6 rows and 5 columns. The pairs were glued to a backing board with Gorilla Glue.
Like the Cree bulb used in the first lightbox, these LEDs are point sources and the light really needs to be diffused somehow. Unlike the Cree, though, they are not very powerful, and packing foam would absorb too much of their light. Instead, I mounted a sheet of clear, pebble-textured glass halfway between the lights and the front panel. To hold it in place, I bolted plexiglass mounting strips to the sides of the box.
 Not having any particular design in mind for the front panel, I used another sheet of textured clear glass there. I liked the overall effect, but I could still see each LED as a separate point of light, and there were no points along the edges of the panel. To overcome this, I glued mirrors on all four sides of the box. It helped a lot.
The better way would be to use more LEDs, perhaps even gluing some to the sides as well as the back. But that could get expensive pretty quickly. Mirrors are cheap; you can buy them by the square foot at Home Depot.
 Animation. The controller can change the brightness and color of each LED several hundred times per second. The speed limit for animation effects is how fast the controller can do the math for the desired color transitions. The Arduino has no floating-point hardware, but it's efficient at 16-bit integer arithmetic. Fortunately, these guys have developed a library of fast integer color transformations. It is so fast, in fact, that my controller sketches typically have idle cycles to slow the changes down a bit.
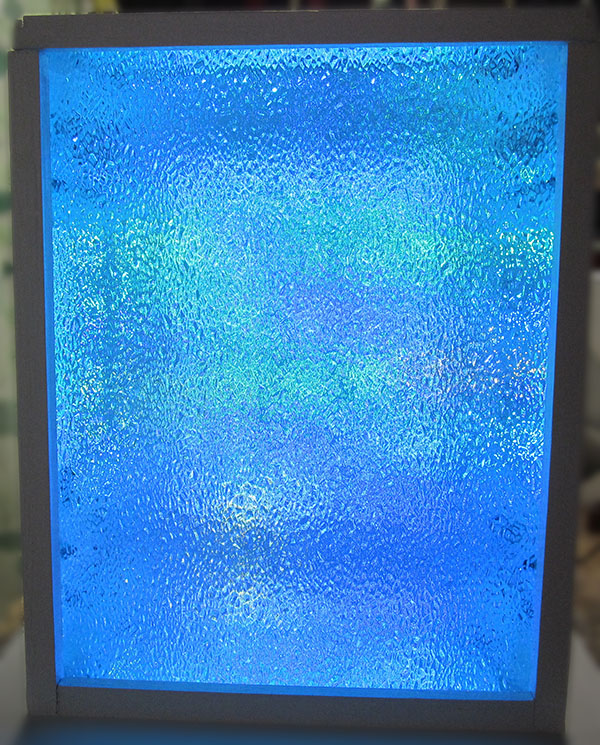
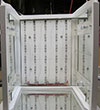
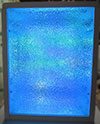
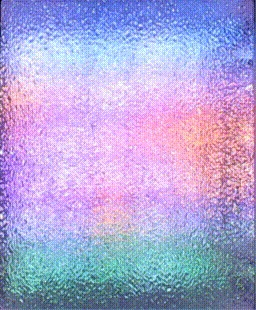
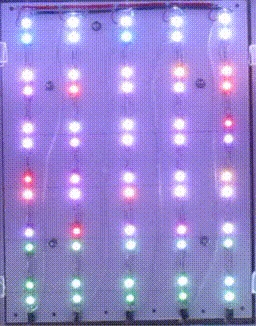
Here's what one animation program looks like: at left, a shot of the bare LEDs; at right, the assembled lightbox. Click a thumbnail image to see its animation.
Cost. My projects always start out with a core component that, by itself, doesn't cost all that much. In this case, it was a strip of LEDs costing $25. Which is cheap, because it comprises 180 individual light-emitting diodes — under 14 cents per diode. But that's just the beginning. To get to the point where I could take these pictures, I needed:
- a controller (Arduino Pro Mini) for $10.
- a small 5-volt power supply for $8.
- an electrolytic capacitor to smooth the power from the supply, $2.
- two sheets of textured glass, $10 each.
- a 2' by 4' sheet of plywood, $10, and 4 feet of 1x2 pine, $1.
- a half pint of outdoor enamel paint, $5.
To these figures, one must add several bucks for shipping the electronics, and a 100-mile round trip to Allentown PA to pick up the glass.... You know what? Let's not talk about cost. If I'd added up all these items beforehand, I'd never have started.
Update. A tree fell on the Version 2 box, so I made a few improvements in Version 3.
Back to home page
 The glass panel that the lightbox illuminates is 12" wide by 16" high, while the LEDs are spaced about ¾ inch apart on the tape. I chose to cut the tape apart to make 30 pairs, spaced about two inches apart, making 6 rows and 5 columns. The pairs were glued to a backing board with Gorilla Glue.